If, like me, you have completely given up on wearing jeans while we are in this quarantined state or just want something mouthwateringly tasty to cheer yourself up, then this rich, gooey chocolatey pie is the ideal treat for you. It is an absolute must for all chocoholics!
Two words or warning though - it is CALORIFIC! Like I said before in another blog, I am not a food scientist and I have no idea how to measure calories but I don't need to be a scientist to feel the waistband on my jeans tighten immediately after I eat this. As I result, I now only bake it for Christmas or when I need cheering up.
The second word of warning is that it is a little trickier to get right than previous recipes that I have posted but if you are a more experienced baker or just want a challenge, then this is the pie for you.
I am a little worried that I may be giving too many instructions with this recipe and that all of the information might look a little over whelming when you first look at it but I have broken it all down into the smallest of steps so if you just take it one step at at time, it should be achievable.


So let's go.....
Ingredients
Pastry
225g of plain (all-purpose Flour)
25g of Cocoa Powder
150g of butter
25g of caster Sugar
Approximately 2 tablespoons of cold water
Filling
175g of butter
350g of Dark Muscovado sugar
4 eggs lightly beaten
60g of cocoa powder (sieved)
75g of Dark Chocolate
75g of Milk Chocolate
300 ml of single cream
1 teaspoon of vanilla extract
To Decorate
425ml of double cream whipped
Grated bar of chocolate
Pastry
1. You can use either a loose bottom 9 inch flan tin or a ceramic 9 inch flan dish. A dish tends to be slightly deeper than a tin so if you are using a tin for this recipe as I am, you may have a little of the filling left over. Don't worry about that. Grease your tin with butter VERY generously making sure that you get into all the little grooves around the side of your dish. It is very important that you do this well or your pastry will stick to the pan when you are trying to cut a slice from the finished product.


2. Next sieve your flour and pastry together into a mixing bowl. Add your butter in cubes and start to rub your butter into the flour using your finger tips. Most bakers will tell you to make sure that your butter is chilled before you rub it in but as I have carpal tunnel syndrome, I find that a little difficult and so my butter is always at room temperature and I just make sure to chill the pastry really well afterwards before I roll it out. That method has never yet failed for me so if you too find rubbing butter into flour difficult then try using that method too.


3. Now stir in your sugar and water until your pastry comes together into a soft dough.


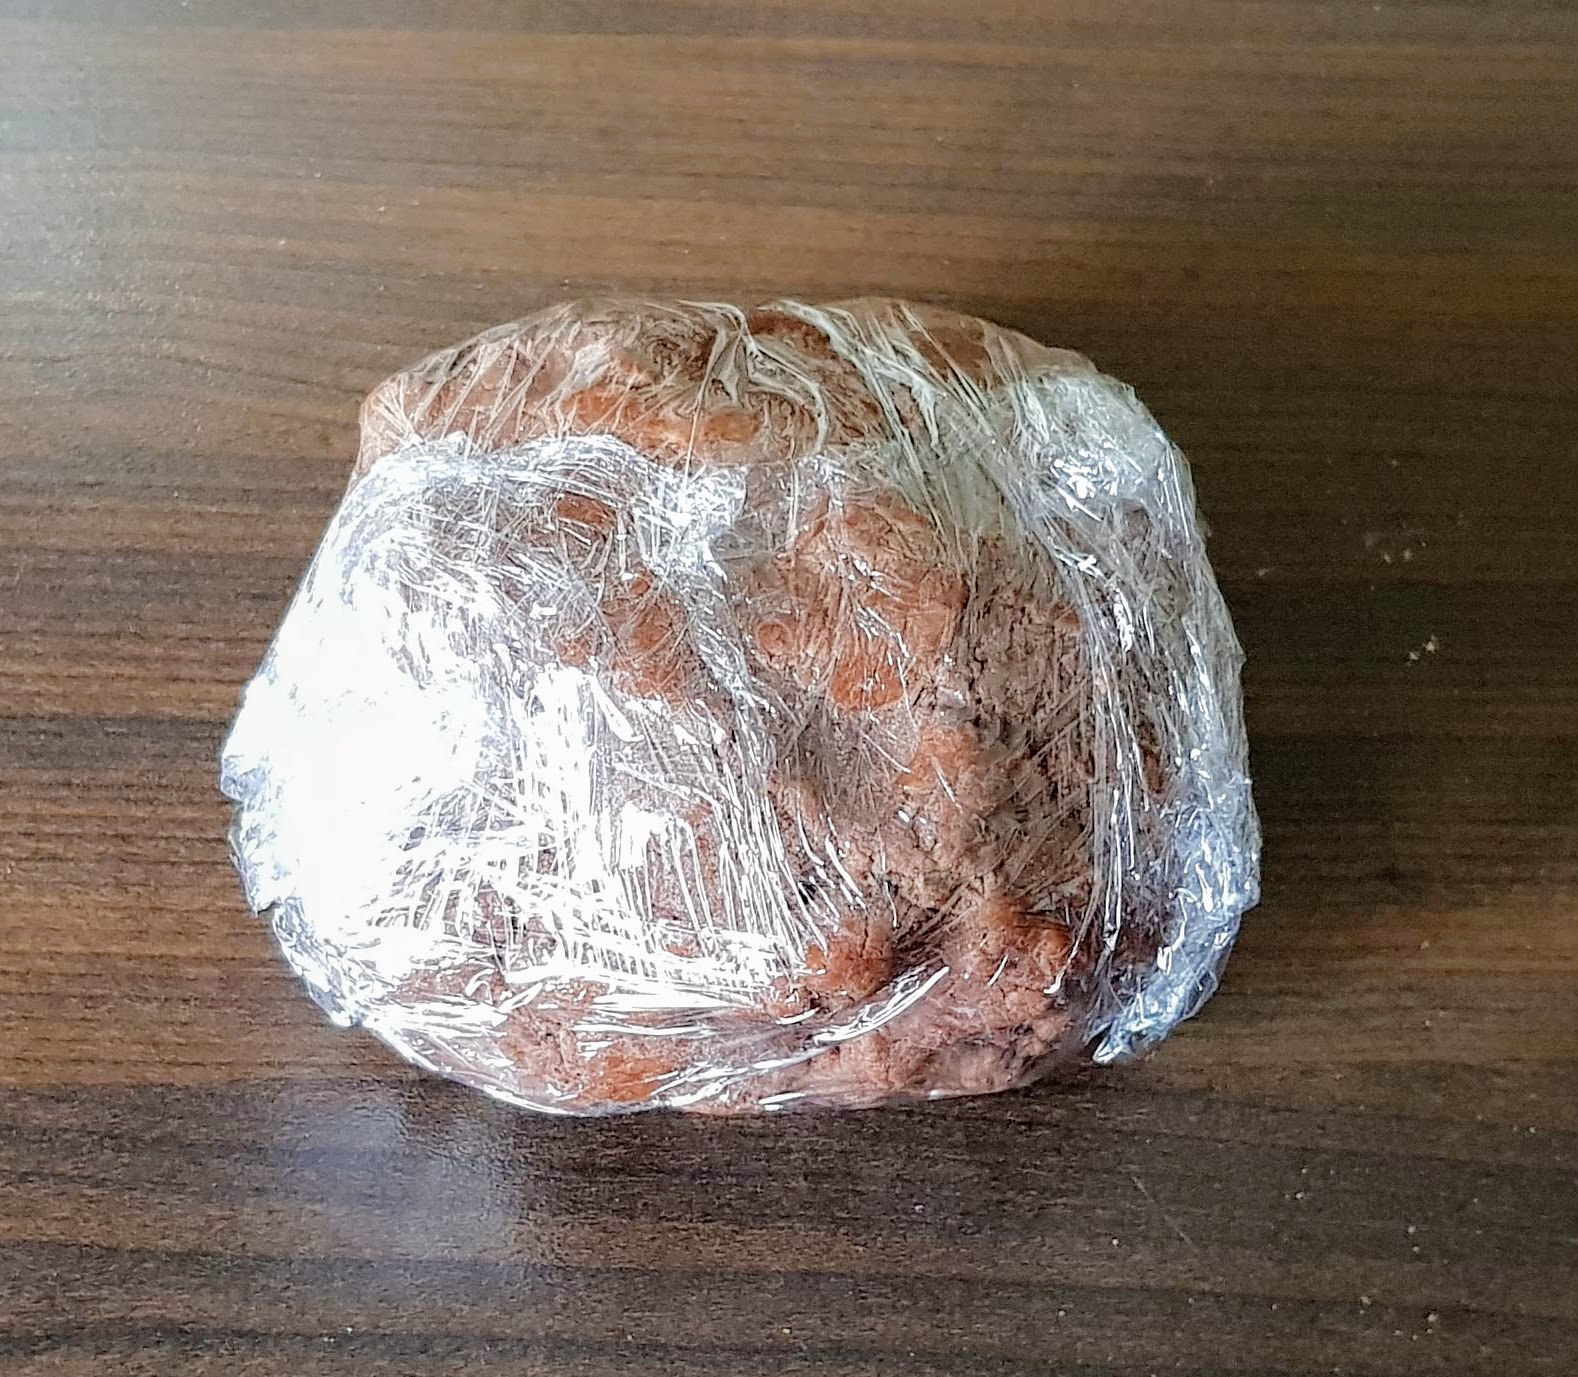
4. Cover your pastry with cling film and if you have used chilled butter to make your pastry then chill your dough for 15 minutes. If, like me, you have used butter at room temperature then chill your dough for 1 hour.
5. Now sprinkle flour on either a baking board like I have or a clean surface like your table or counter top. This is not the easiest pastry to work with. It cracks and tears quite easily but luckily it is also easily repaired if it does tear. Just patch it up with another piece of pastry.
Unlike bread that needs lots of handling and kneading to develop the gluten, pastry is quite the opposite and your aim is actually to restrict the development of gluten so it should be handled as little as possible. Only do the slightest bit of kneading if necessary to ensure it is smooth.

6. When I roll I tend to roll my pin forward over the pastry and then I lift and turn my pastry 90 degrees and roll again. Keep, rolling and turning. This roll and turn technique helps your pastry to achieve a more even thickness across it and also helps it to not stick to your surface. It you feel it sticking, just lift it up and sprinkle a little more flour underneath it.


7. Place your tin or dish on your pastry to check that it is wide enough remembering that your pastry must also come up the sides of your dish.

8. Now roll your pastry over your rolling pin as demonstrated in this picture to help you lift it into the tin.


9. It may crack and tear a little and if it does, just patch it with some excess pastry. The patching will not be visible in the final pie.

10. I also take another piece of excess pastry and use it to gently press my pastry into the grooves around the side of the pan.

11. Shortcrust pastry tends to shrink while it is being baked so leave around 1 cm of pastry overhang at the edge of your pie case to accommodate this shrinking. You can trim off the excess when the pastry is baked.

12. Chill your pastry case for 15 mins again before baking

13. Preheat your oven to 190 degrees or 170 degrees for a fan oven. Cover your pastry with baking parchment and fill your case with baking beans and spread them across your pie crust evenly. If you don't have baking beans then you can use dried beans or rice or lentils. You can even use old coins provided you have thoroughly cleaned them. Bake the pastry case in the oven for 15 minutes. After 15 minutes remove the baking parchment and baking beans (or whatever alternative you chose) and cook for another 10 minutes until crisp.

14. Remove your pastry from the oven and allow to cool. When it has cooled, take a very sharp knife and trim the excess pastry.

Filling
1. To make the filling beat the butter and the muscovado sugar together in a bowl until it is creamy and smooth. It is quite normal to have some lumps of muscovado sugar left in your mixture. Don't worry about that.


3. Melt your chocolate. you can do this in either one of two ways. Number one is to put it in a bowl over a pan of simmering water stirring continuously.
If you are feeling a bit braver then you can place your chocolate into a microwaveable bowl and put it in the microwave at full blast for a minute and a half. Take it out and stir it thoroughly. Place it back in the microwave for another 20 seconds and remove and stir again and keep repeating this until your chocolate is completely melted
4. Now beat your melted chocolate and cream into your mixture.

5. Pour your mixture into your cooked pastry case and bake in a pre heated oven at 180 degrees or 160 degrees for a fan oven for between 40 to 50 minutes.


6. It is not the easiest thing to tell when the pie is ready if you are not experienced but it will have a crisp top and although the centre will be very gooey, it should look set and not runny. remove from the oven and leave to cool completely.

To Decorate
1. Whip your double cream. Be careful whipping cream. On too many turns around the bowl and it can go much too thick. You want it to be soft and just about holding it's shape.

2. Spread it over your pie and smooth it out with a spatula.


3. Grate some chocolate or crumble a flake over the top to finish it off and leave to chill. Don't forget that fresh cream does not have a very long shelf life so this will need to be stored in the fridge and consumed within a few days.


Finally there is nothing left to do but undo the top button of your trousers and enjoy!!!

Comments
Post a Comment